
Lychee is yet another contender in the niche of self-hosted photo management and sharing applications. Thanks to Victor, who alerted me to its existence, here’s a short review of what it does, how it works and whether it’s worth it to install (spoiler-alert: it is).
In a Nutshell
Lychee is a photo hosting and sharing application, developed by electerious, geared toward photographers or simply people who enjoy taking photos and then sharing them with the world (or simply backing them up to their servers). It’s fully featured, easy to set up and use. It’s also free to use (donations to the developers are possible).
Installation: [rating=5]
Price: [rating=5]
What does it do?
That’s easy: it lets you host pictures, either by uploading them, connecting to your Dropbox or pulling them from somewhere else via a URL.
The whole design is very lightweight, fast, and it’s optimized for any kind of device (so it works from your phone as well as your tablet, Desktop, etc.).
It gives you the option of uploading to the existing “Public” folder directly, which makes your images immediately shareable. If you just want to archive your pictures online, you can upload them to private folders too. And if you ever decide to make those public, it’s as easy as clicking an icon, which will then give you even more options on how to go further. This works for both single images or whole folders.
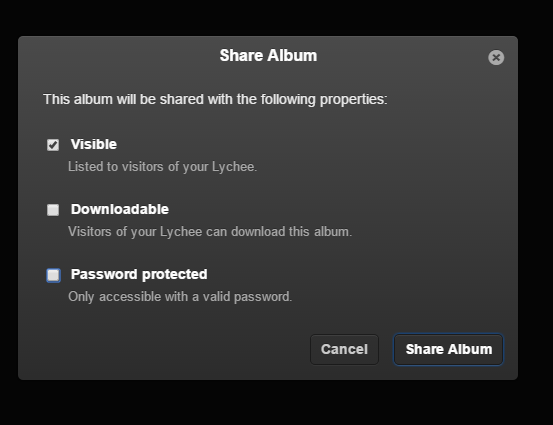
Sharing your then uploaded pictures on various social networks is a built-in feature and it works without a hitch. As a bonus, when posting your pictures on Twitter, twitter cards are activated already, so people will see a nice little preview of your picture on Twitter already.

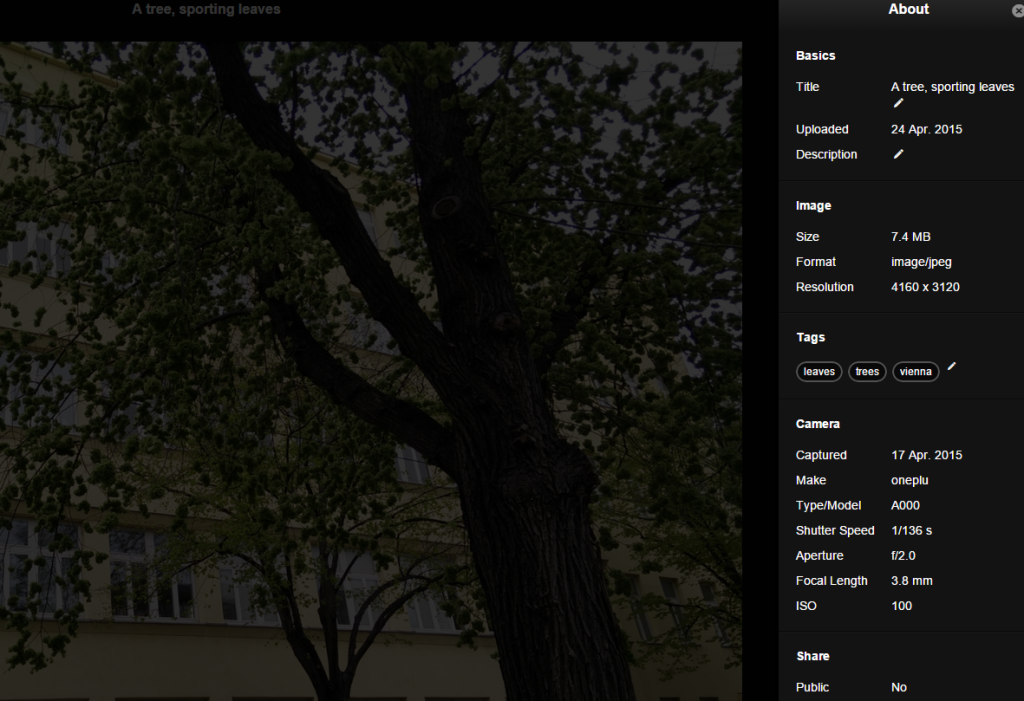
One feature that’s integral to any photo sharing website is the inclusion of EXIF data. Lychee doesn’t disappoint here either. Click on the little info icon on any image’s page and you’ll get all the details in a sidebar. Like so:
You can check out a demo here.
Installation
Installation with this one works like a breeze. Checkout the latest version via their github page (where you’ll also find more detailled installation instructions), then upload and extract to your webspace. Make sure you have your database login ready, it’ll then create all the necessary tables itself. Alternatively, you can also create your own database and add it in the set-up process.
There are a few tweaks to your php.ini that are recommended, so make sure you know where it is and how to edit it (alternatively ask your webspace or server provider to do that for you).